Set Up Your Profiles


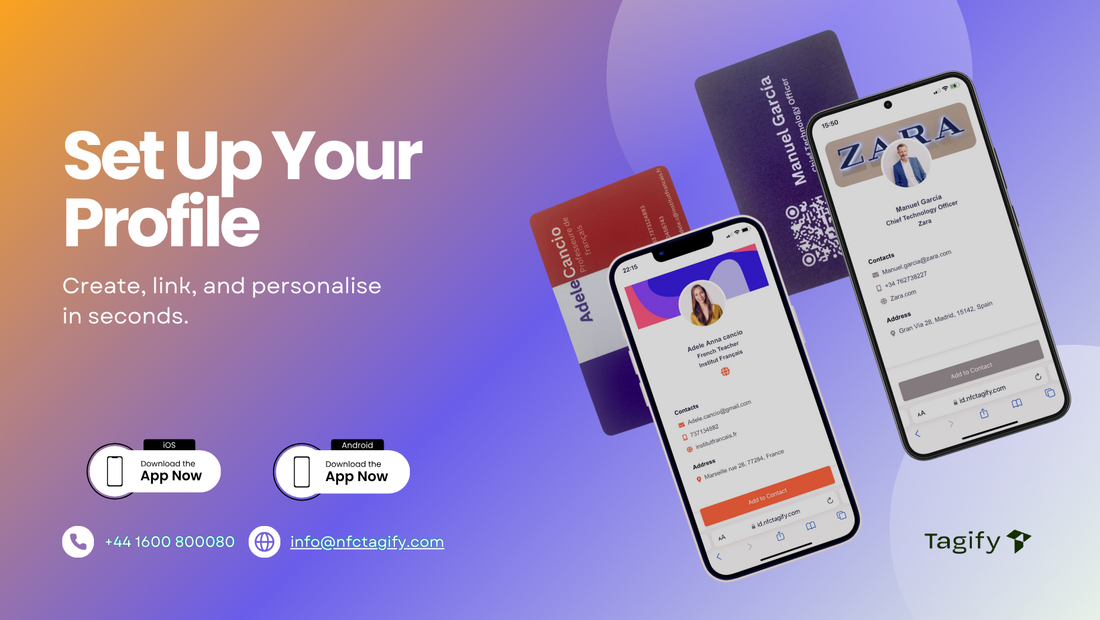
Getting Started with Your NFC Tagify Card
Just received your NFC card? Whether you're new to Tagify or already have a profile set up, this guide will walk you through everything you need to know—how to create a profile, link your card, switch between profiles, and personalise your setup.
If you've already created your profile, you can jump straight to Section 2 to learn how to link your card. If not, start from Section 1 to get everything set up step by step.
Section 1: Creating Your First Profile
If you don’t already have a profile, don’t worry—setting one up is easy. Start by tapping the card with your smartphone:
- iPhone: Tap on the top of the phone
- Android: Tap on the back of the phone

You’ll be redirected to the App Store (iPhone) or Google Play (Android) to download the Tagify app. Once installed, follow these steps:
- Open the app and tap Create Account
- Enter your email and a password.
- Press Create a Profile
- Choose a name for your profile (e.g. Business, Personal, Work1, etc.) and confirm

Once your profile is created, you can add your details:
- Info tab: add your name, email, phone number, and other contact details
- Links tab: insert links to social media (LinkedIn, YouTube, Twitter, etc.)
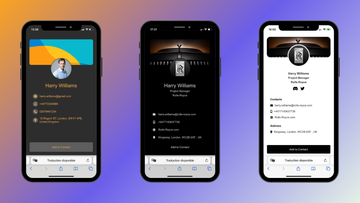
- Display tab: upload your profile photo, cover image, and customise colours Read more

You can also choose how your profile is laid out—Classic, Icons, or Links style. Want to learn more about how to customise your profile’s colours and layout? Read more here.
Once you’re done, press Save (top right), then tap the icon in the top left corner of the screen to return to your dashboard. Your profile is now ready.
Section 2: Linking Your Card
Once your profile is complete, it’s time to link your NFC card so it becomes active:
- In your profile dashboard, press the orange Link to NFC Card button
- If your card has a QR code (generated by us), choose Scan QR Code
- If your card doesn’t have a QR code or has a custom one, select Use Mobile NFC Reader Instead


After a successful link, your profile will show "Linked to Device" at the top. Your card is now live—anyone who taps it will see what you’ve built.
Section 3: Creating and Switching Between Profiles
Tagify lets you create up to 6 different profiles—so you can set one up for each purpose: business, personal, freelance, content creation, events, and more.
To create a new one:
- Go to your profile dashboard
- Tap the “+” symbol at the top of the screen
- Repeat the same steps from Section 1 to set up your new profile
To switch the card between profiles:
- Open the profile currently linked to your card
- Tap "Linked to Device" at the top, then press "Unlink Physical Card"
- Go to the profile you want to link
- Repeat the process in Section 2 to link the card again

This allows you to keep your card flexible and reuse it in different settings—without needing a new card each time.
Section 4: Set the Tap Behaviour
Each profile gives you full control over what happens when someone taps your card. You can choose between:
- Visual Profile – Opens your full digital profile with layout and links
- Instant Contact Download – Automatically saves your contact to their phone
- Direct to URL – Sends the user to your website, Pay.Me, TikTok, or YouTube page
You can switch tap modes anytime from your profile settings. Read more about tap behaviour here.
Want the Full Overview?
If you're curious about the three main features that make your NFC profile work—layout styles, tap behaviour, and custom colours—this guide gives you a simple summary of each, with links to dive deeper into every one.
Read more: Design Your Digital Profile
We at NFC Tagify provide all sorts of NFC solutions.
📞 Call us: 01600800080
🟢 Message us on WhatsApp: +44 1600 800080
📧 Email us: info@nfctagify.com
PVC Digital Business Card


